Adding a Print Button to InfoPath Forms
– 1 MinutesA common complaint I hear about custom InfoPath forms on lists and libraries is that you can’t print them. If you try and use the print button through the browser, you will likely end up printing the entire page. If you take a screenshot, you might not capture the entire form.
We can fix all these problems by adding a "Print" button to the forms.

Read on to find out how!
First, open up Visual Studio 2010, and create an empty SharePoint project. In the project, add a new element, and add the following to it.
<Elements xmlns="http://schemas.microsoft.com/sharepoint/">
  <CustomAction Id="PrintButton" Location="CommandUI.Ribbon" Rights="ViewListItems">
    <CommandUIExtension>
      <CommandUIDefinitions>
        <CommandUIDefinition
          Location="Ribbon.Tabs.InfoPathListDisplayTab.Manage.Controls._children">
          <Button Id="Ribbon.Tabs.InfoPathListDisplayTab.Manage.Controls.Print"
            Command="Print"
            LabelText="Print Item"
            Sequence="16"
            TemplateAlias="o1"
            Image16by16="/_layouts/images/printer.png"
            Image32by32="/_layouts/images/printer.png"/>
        </CommandUIDefinition>
      </CommandUIDefinitions>
      <CommandUIHandlers>
        <CommandUIHandler
         Command="Print"
         CommandAction="javascript:window.print();" />
      </CommandUIHandlers>
    </CommandUIExtension>
  </CustomAction>
</Elements>
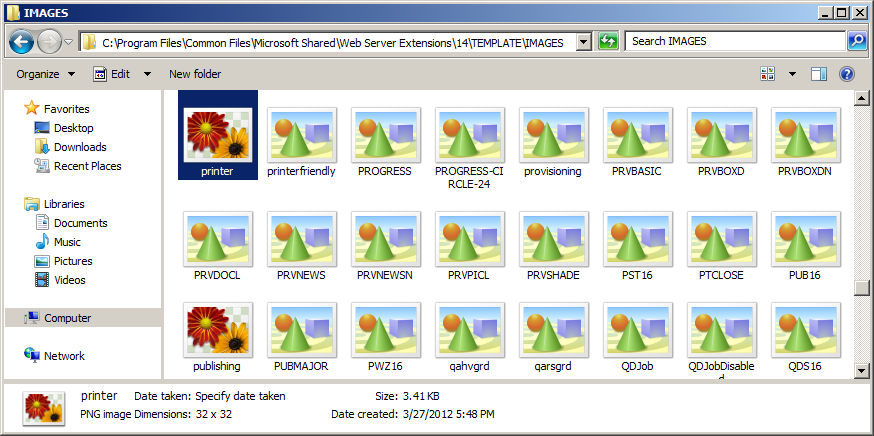
You will notice in the XML above that we reference an image file. This is the icon that will show in the ribbon. You can download the image I used from here. You must place this file in the SharePoint root (14 Hive) as show in the image below.

Make sure you have the element added to a feature, and deploy the solution to your farm. After you deploy your solution and activate the feature, you should see a Print button on the display view of your forms. When the print button is clicked, it will bring up the Print dialog from the browser…and it will only print the form!
